See and Be Seen, Not Spotlit: Sorting Bike Lights for a Winter Buddy Ride
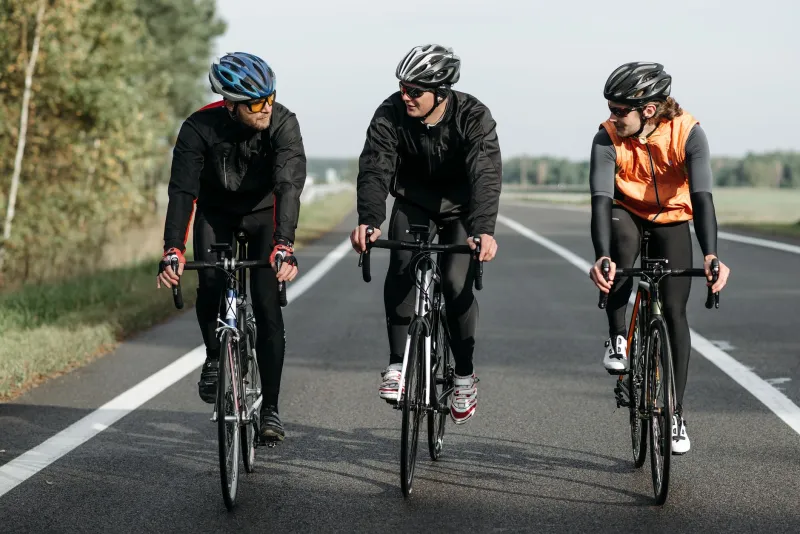
There’s a moment on every late-autumn buddy ride when someone clicks on a front light and the whole group realises they’ve brought very different ideas about brightness. One rider has a neat little commuter beam, another has what looks like a small searchlight, and a third is hoping their rear blinker is still alive. As the nights draw in for 2026, it’s worth sorting the lighting plan before you roll out, not halfway up a dark lane.
Good bike lighting isn’t about winning a lumen contest. It’s about seeing the road, being seen by traffic and staying pleasant company. On a buddy ride, that last bit matters more than you’d think.
Start with the legal basics, not the lumen wars
In the UK, after dark you need a white front light and a red rear light, plus a red rear reflector. Pedal reflectors are also part of the legal picture for bikes made after 1 October 1985, though plenty of modern bikes and aftermarket pedals make that awkward. Flashing lights are allowed, but they should flash between one and four times per second. If you’re unsure about the finer points, check the current Road Vehicles Lighting Regulations guidance before you rely on a mate’s memory.
That’s the minimum. The practical bit is making sure your lights are charged, fitted properly and pointed sensibly. A bright light aimed at the sky is just an expensive way to annoy aircraft. A dim light aimed at your front tyre is a good way to miss a pothole.
Beam patterns are the real hero
The most useful thing to understand is beam shape. A torch throws light in a rough cone. A proper road bike light has a shaped beam with a cut-off at the top, so it lights the road ahead without firing straight into the eyes of people coming the other way. German-style StVZO-approved lights are a good example of this thinking, and plenty of UK commuters use them for exactly that reason.
If your light has a sharp horizontal cut-off, set it so the bright edge sits below the eyeline of a rider coming towards you. If it’s a rounder, floodier beam, angle it down a little more than feels natural. You’ll still see the road. You’ll just stop turning every oncoming cyclist into a surprised rabbit.
A quick wall test helps. Stand your bike a few metres from a wall, switch the light on and crouch down to rider height. If the hotspot is hitting you in the face, it’s too high. If it’s lighting the wall from about knee height downwards, you’re in a better place.
Bar light, helmet light, or both?
A bar-mounted front light should be your main road light. It’s steady, it follows the bike and it’s less likely to swing into someone’s eyes when you turn your head to natter.
Helmet lights are tempting because they let you look into corners and peer at signs. They’re also brilliant at accidentally blinding the person you’re talking to. If you use one on a buddy ride, treat it as a secondary light: keep it dim, point it where you need it and dip it when you’re close to other riders. On shared paths and quiet lanes, a helmet light can feel much more aggressive than the rider wearing it realises.
For most beginner-friendly road and towpath rides, a shaped bar light plus a reliable rear light is plenty. Save the helmet spot for off-road lanes where you genuinely need to look around the next bend, and even then, be ready to switch it down when you regroup.
Agree the plan before the first pedal
This is the bit that saves the group chat. Before you set off, have a thirty-second lighting chat. Who’s got a front light? Who’s got a rear? Is anyone running flashing fronts, and can they switch to steady when riding close together? Does anyone have a spare rear light or a power bank?
It sounds fussy. It isn’t. A buddy ride works best when nobody has to guess whether the rider behind can see or whether the rider in front is about to disappear into a black hole of unlit lane.
A simple plan might be: steady front lights on the road, rear lights on a gentle pulse or steady red, helmet lights off unless needed, and everyone dips their beam when you regroup or pass a walker. If someone’s light is dazzling, say so kindly. “Your beam’s a bit high on my eyes – could you drop it a notch?” is a perfectly friendly sentence.
Don’t be the rider with the disco rear
Rear lights are where good intentions go a bit wrong. A red flasher is legal and useful, but a hyperactive strobe on a dark shared path can be grim to follow. If you’re riding close behind someone, a steady rear light or a slower pulse is often easier on the eyes. Keep it red, keep it pointed back, and don’t mount a white flasher on the rear just because it looks cool. That’s a confusing signal to drivers and riders alike.
Reflectives still matter, too. Reflective ankle bands, a bit of reflective trim and a red reflector are doing quiet work that a battery light can’t do when it runs flat. In a group, spread the visibility around: not everyone needs to be lit like a Christmas tree, but everyone should have at least one working rear light and a front light that actually shows the road.
The quick pre-ride lighting check
Before you head out, do the boring bit. Charge your lights. Check the mounts are tight. Give the lenses a wipe. Make sure your rear light is visible under a saddlebag or jacket. If you’re the organised one, carry a small spare rear light – it’s the cycling equivalent of having a spare tube and makes you very popular at the regroup point.
Then ride with a bit of empathy. Dip the beam when you’re close. Call out when you’re switching lights on or off. Keep the chat going. The aim isn’t to light up the whole county; it’s to make sure everyone gets home seen, safe and still on speaking terms.